Friday, May 31, 2013

PG Aile Strike Gundam Pt. 2

 Part 2. Finished assembling the frame...


 Also got my water slide decals in.


I managed to lose K26. Not the biggest deal, but it does suck not having it. It connects to the upper arm and the inner arm slides using it as a pivot point. Possible 3D part ill make and print of.

The hands are sturdy enough to hold a tooth brush...
Just finished cleaning up the white parts. Pre shading and painting tomorrow...

Wednesday, May 29, 2013

PG Aile Strike Gundam Pt. 1

Finally got to start with the Strike this weekend. Trimmed all the frame parts, cleaned and sorted them. Tonight I started the build. Finished the inner frame's legs in about 2 hours...

 Once I finished the feet, I knew the scale was going to be crazy...
Bottom half done. 
 Top half done.
Bad pic of the scale. HG on the left. MG on the right. Plus some chicks in the background. Screen saver images courtesy of Linxspiration.
End of part one of...!??!?!?


Tuesday, May 21, 2013

Past Builds

Here are some of the dudes I have finished and painted.

 Legs didn't want to switch. Blarg
 Look better normal anyway.


PG Aile Strike Gundam Intro

I have been planning on getting a PG for a while now, but haven't been able to figure out what kit i wanted. Last week I stumbled on this Strike Gundam, and this ultimatly made up my mind. This being my first PG, I wanted something cool looking and a decent pricc and this fit. Had to pick up the Skygrasper to get the Aile Striker. More to come in the coming weeks...this will take some time.
 Yea dude, let's. Word.
 Size comparison. Pretty rad.
 Hopefully mine can look this cool.

Sunday, May 19, 2013

Jesta Weathered

Since I had two jestas, I figured i would try some simple weathering. Went for a worn armor look. Not bad.


Saturday, May 18, 2013

The Jestas

Though it isnt it a main hero mobile suits, the Jesta is one of my favorites. My overall favorite being the RX-93 and its variants (ill post my hi-nu from last year later). I got this kit last year, put it together and took it apart when i thought about removing seam lines. I managed to do just that, but got out of gunpla for a little and it sat until a few weeks ago. After getting back into gunpla after finishing my RX-0 (ill post that later too) I saw the release of the Jesta Cannon. Had to pick one up and get into it. After completing there was no other choice but to finish up the original. Word.


 All the parts after paint.
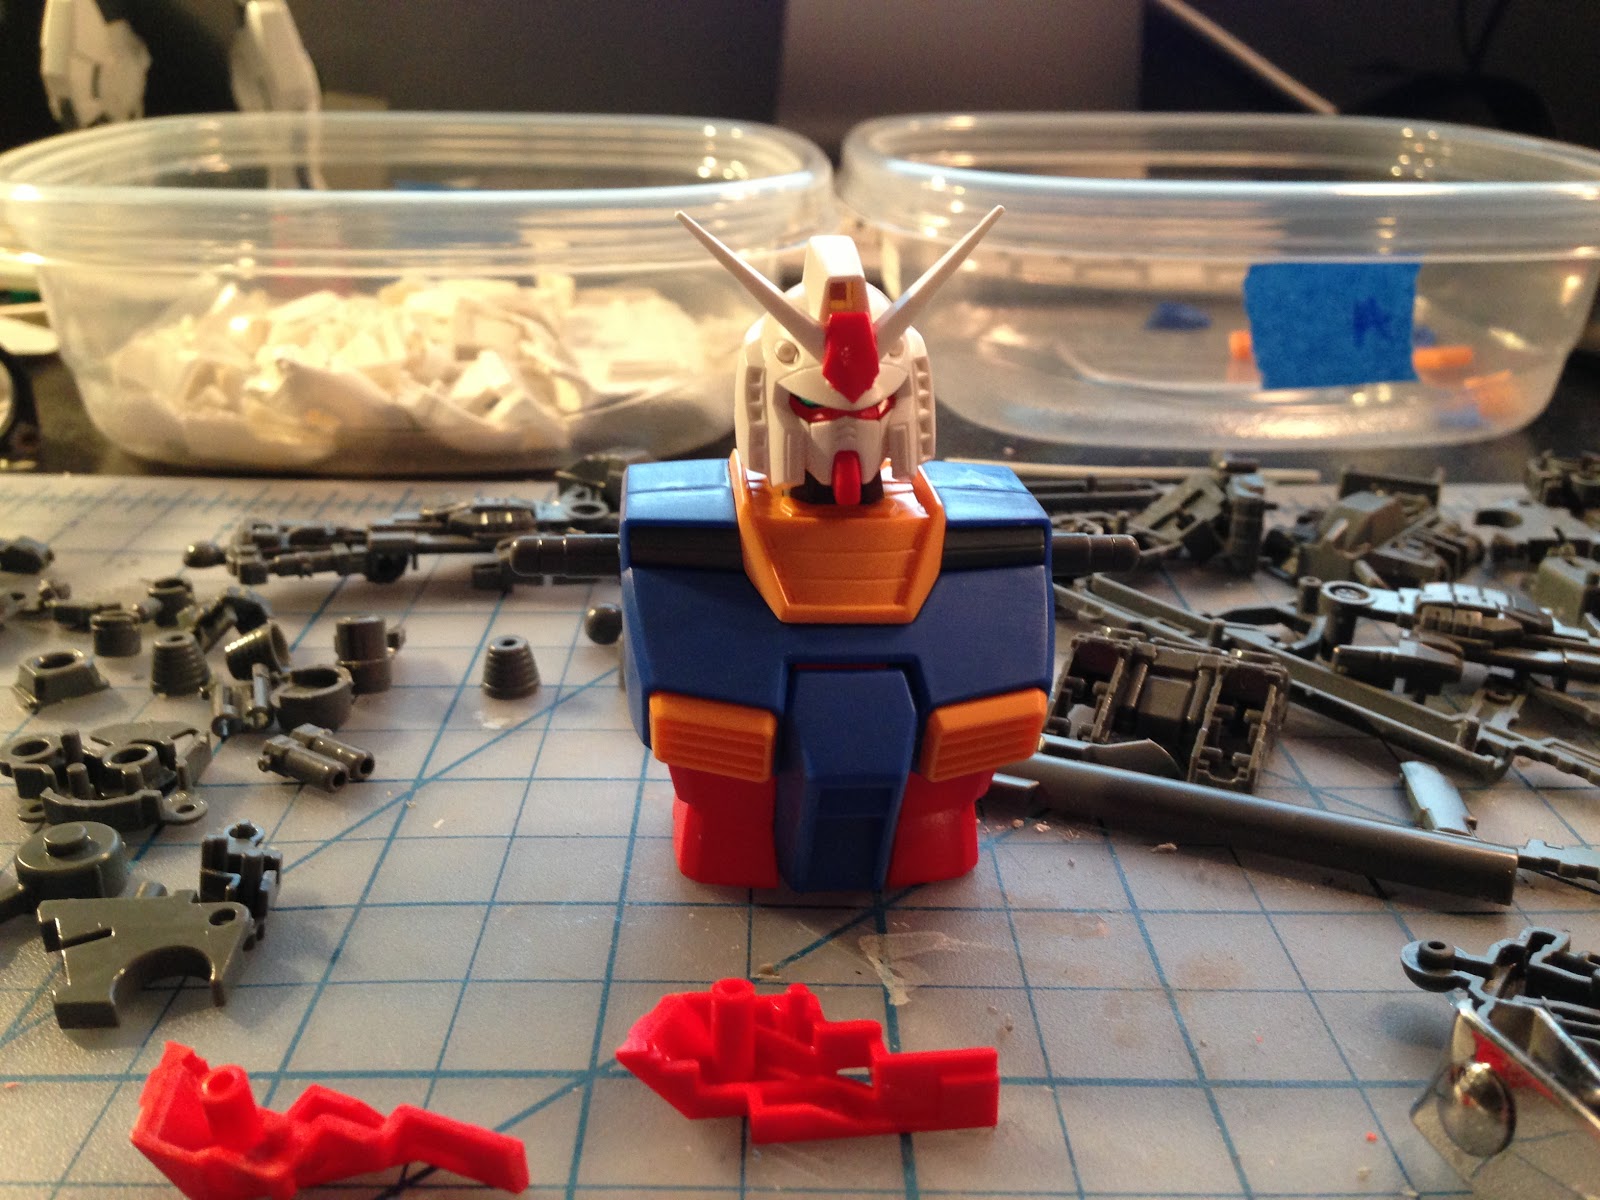
Just finished putting him together tonight, still needs a top coat. Possibly might do some minor weathering. 
 I managed to lose part of the nade holders on his leg down the sink. One of the perks of working in a design field is having access to a 3D printer (one with bad resolution though). I took the piece i lost and made a copy in solidworks, printed it out and was able to work with it. 7/10...wish it was a better print.


Not bad....
Word up. 

RX-78-2 Ver. Ka Weathered Build (Gundam Beginner Comp. 1) Pt. 1

Starting to prep for my weathered build for the competition Gundam Beginner Posted. Stay tuned. 


Cut and up ready. 


Part one is done. Next is to figure out what seam lines I can get rid of and get ready for pre battle damage.

Friday, May 17, 2013

Exia Ignition Mode + Repair II/III Resin Conversion Kit Pt. 1

Exia is probably the only suit I like from 00, and even after watching some of it I still feel its pretty much the best from the series. After seeing some builds of it, I knew I had to give it a try. I picked up the ignition mode since it had the LED set up, something I know I'll use once, but something I really wanted. I was lucky enough to find a resin conversion kit on eBay that I felt elevated the suits aesthetic. This being my first time with resin, it seemed a conversion kit would be a nice starting point. 


Wasn't feeling the conversion kits legends of the hidden temple grin. I'll stick to OEM.


2 sets of shoulders. Since the resin kit came with both II and III repair versions. Not sure what ill go with. 

The resin leg parts are going to take more work than I thought. The inside of top armor pieces are solid leaving two options: either drill for the peg to fit or remove the leg peg...we'll see.
 Back skirt parts.
 Weapons next....


The glow.